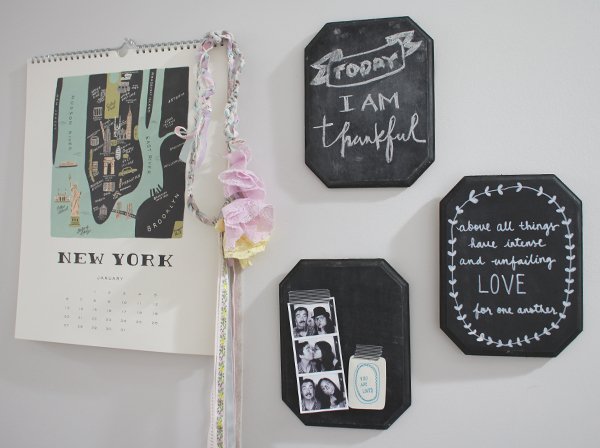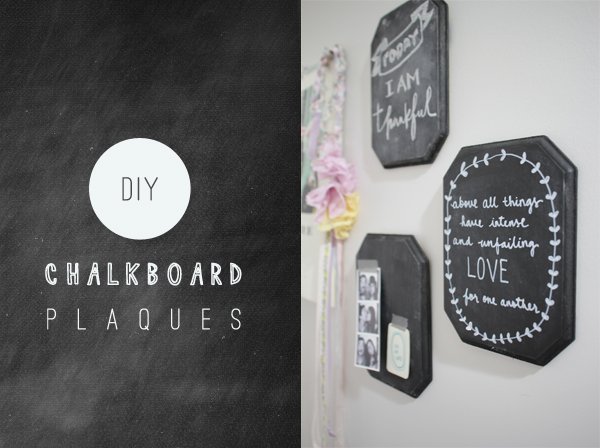
I have always loved the look of sweet notes on chalkboards but can never commit to painting a whole wall! So here’s a fun twist that’s as easy as 1-2-3. No really, there are only 3 steps to this project and I am quite smitten with how they turned out! The best part? I found these wood plaques from the dollar store! Not only are these easy to do, they’re easy on the wallet too!
DIY GLITTERED CHALKBOARD PLAQUES
What you will need:
- Newspaper
- Wooden plaque (from dollar stores or kraft stores)
- Chalkboard paint (spray cans offer the most even non-streak finish)
- Patience
- Chalk!
Step 01:
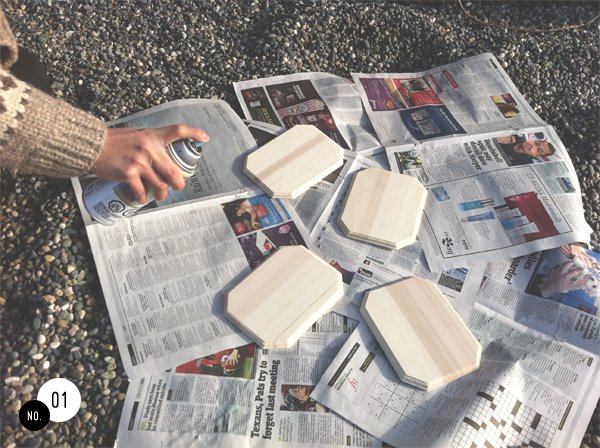
Head outside and spread out newspaper to lay the wood plaques on. Shake paint can, then spray the plaques evenly. Make sure that all corners are painted as well.
Step 02:
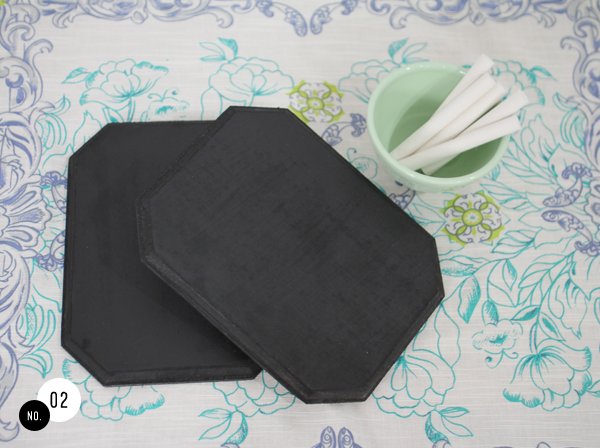
Probably the hardest step of this project…wait patiently for 24 hours to allow the paint to dry completely.
Step 03:
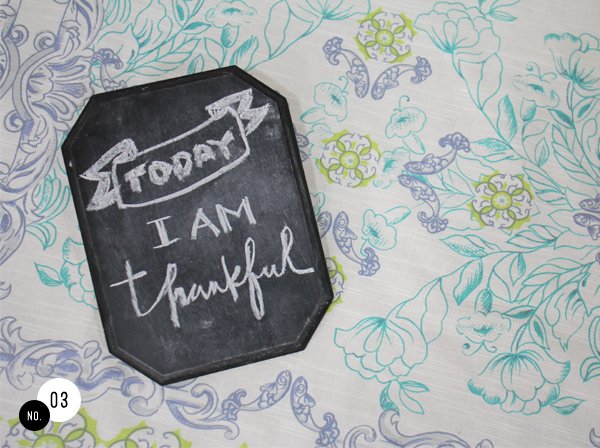
Draw on the plaque, then deliberately rub off the chalk to get that “aged” look. Then write whatever your little heart desires.
I used a white paint pen for one of the plaques and found it was quite useful for adding more details. Or if you’d like, simply post special notes or photos with tape!